How to Use Discord for Seamless Gaming Communication
- 11-05-2023
Gaming has evolved into an incredibly social experience, and communication is at the heart of it. Discord has emerged as the go-to platform for seamless gaming communication, allowing gamers to connect with their friends and communities all over the world. In this article, we'll dive deep into how you can use Discord to enhance your gaming experience, with five key aspects to consider. Let's get started!
1. Setting up Your Discord Account and Server
Creating an Account
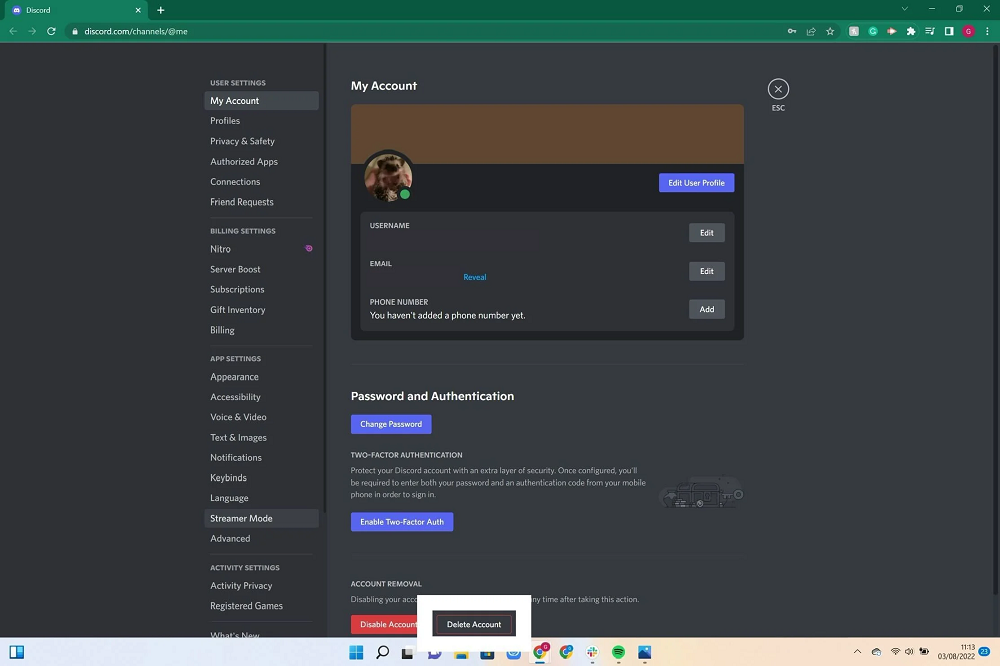
First and foremost, you'll need to create a Discord account if you haven't already. Simply head over to the Discord website and follow the prompts to create an account. You can choose to download the desktop app for Windows, macOS, or Linux, or use the web-based version if you prefer. Discord also offers mobile apps for Android and iOS, so you can stay connected even when you're on the go.
Creating a Server
Once you've set up your account, it's time to create your own server. This is where you'll invite friends, create channels for different games or topics, and manage user permissions. To create a server, simply click the "+" icon on the left-hand side of the Discord app, choose "Create a server," and follow the instructions. You can customize your server's name, icon, and region, and invite friends using a custom invite link.
2. Organizing Channels and Categories
Creating Channels
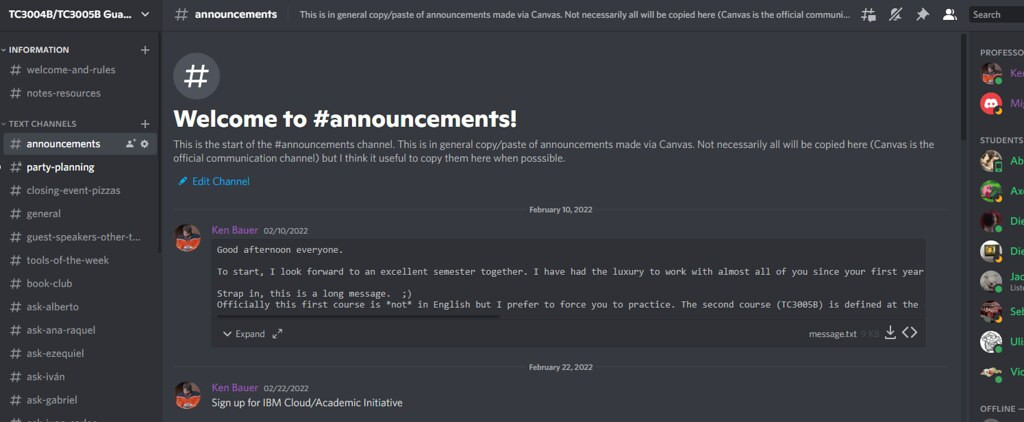
Channels are the backbone of your server, allowing you to separate conversations by topic or game. Discord offers two types of channels: text and voice. Text channels are perfect for sharing messages, links, images, and other media, while voice channels are dedicated to real-time voice chat. To create a new channel, simply click the "+" icon next to the "Text Channels" or "Voice Channels" header in your server and enter a name for the channel.
Creating Categories
If you have a large server with many channels, it's a good idea to organize them into categories. Categories act as folders for your channels, making it easier for users to navigate your server. To create a category, right-click on your server's name in the left-hand sidebar, choose "Create Category," and enter a name. You can then drag and drop channels into the category, or create new channels directly within it.
3. Managing User Roles and Permissions
Creating Roles
Roles are essential for managing user permissions on your server. By default, every server has an "everyone" role, which applies to all users. However, you can create additional roles with custom permissions to grant users specific abilities, such as moderating channels or managing server settings. To create a new role, head to your server's settings by clicking the server name in the top-left corner, and then click "Roles" in the left-hand sidebar. From there, you can create new roles and assign permissions as needed.
Assigning Roles
Once you've created roles, you'll need to assign them to users. To do this, right-click on a user's name in the member list or in a text channel, and then click "Roles." From there, you can toggle the roles you'd like to assign to the user. Keep in mind that users can have multiple roles, and their permissions will be a combination of all the roles they have.
4. Integrating Bots for Enhanced Functionality
Finding Bots
Bots can greatly enhance your server's functionality, offering features such as music playback, moderation tools, and game integration. There are countless bots available for Discord, with many tailored specifically to gamers. To find the perfect bot for your needs, you can browse websites
Adding Bots to Your Server
Once you've found a bot you'd like to add to your server, you'll need to invite it. Most bot listing websites will provide an invite link, which will prompt you to authorize the bot and choose a server to add it to. Keep in mind that you'll need the "Manage Server" permission to add bots to a server. Once the bot has been added, it will appear in your server's member list, and you can interact with it using commands or through its dedicated dashboard, if available.
5. Utilizing Discord's In-Game Overlay and Game Detection
Enabling the In-Game Overlay
Discord's in-game overlay allows you to access your server's text and voice channels without having to minimize your game. To enable the overlay, head to the Discord settings by clicking the gear icon in the bottom-left corner, and then click "Overlay" in the left-hand sidebar. From there, you can toggle the overlay on or off and customize its appearance and keybinds. Keep in mind that the overlay may not work with all games or may need to be enabled for specific games through the "Game Activity" settings.
Setting up Game Detection
Discord can automatically detect the game you're playing, displaying your current game status to friends and server members. This feature can be useful for finding others to play with, or for showing off your gaming prowess. To set up game detection, head to the Discord settings and click "Game Activity" in the left-hand sidebar. From there, you can toggle game detection on or off, add custom game statuses, and enable or disable the overlay for specific games.
In conclusion, Discord is an incredibly powerful tool for gamers looking to enhance their communication and community-building experiences. By mastering account and server setup, channel organization, user management, bot integration, and in-game features, you'll be well on your way to creating a thriving gaming hub for your friends and fellow players. So, jump in and start exploring the vast world of Discord today!